The P. O. Box home page displays the mailing lists of which you are a member or to which you are allowed to post. It also displays buttons for the actions you can take. The screen below shows one faculty member's home page after he logged into P. O. Box. When students log into P. O. Box, they will see a shorter set of lists.
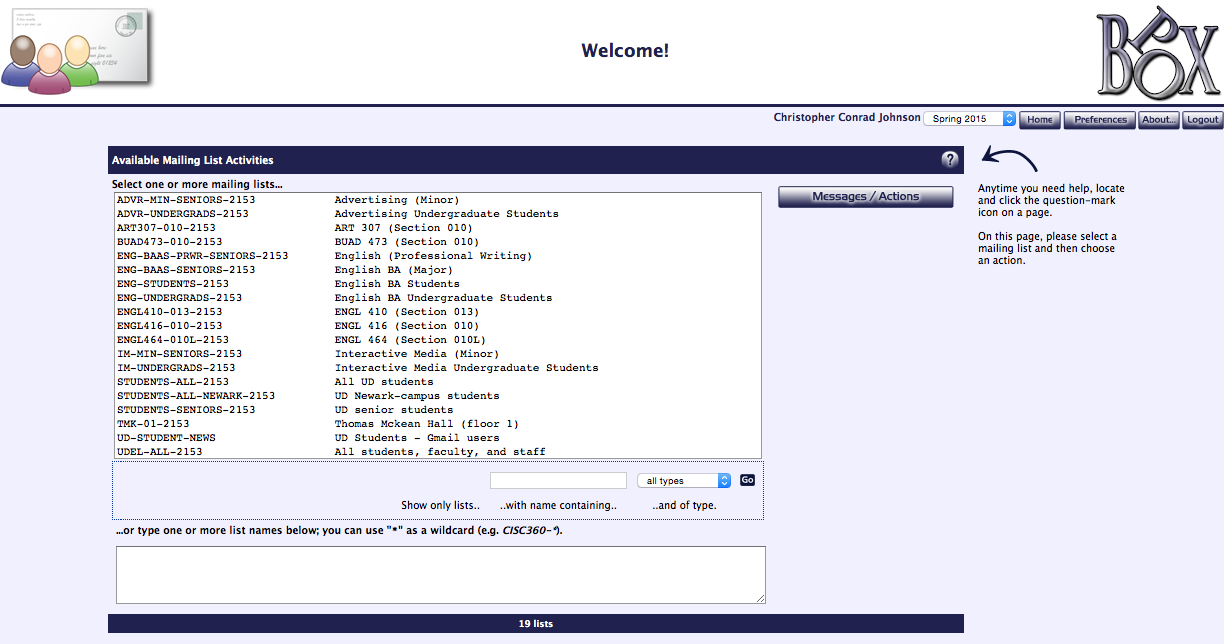
The lists of which you are a member appear in the left window of the Available Mailing List Activities page. The lists are displayed in alphabetical order; if you are a member of more than 32 lists, the listing will be broken into different pages. Use the arrow buttons below the left corner of the window to navigate through the pages of available mailing lists.
Selecting One Mailing List
If you only want to use one mailing list, click on the list's name to select it. Select one of the buttons immediately to the right of the list of available mailing lists.

- Messages/Actions: Use this to see what files and messages are available.
- Post a Message: This button is only displayed if you are allowed to post a message to this list.
- List Options: If you are one of the owners or administrators of a list, you can change certain list features.
- List Membership: If authorized, use this button to view a list's members.
Selecting Multiple Mailing Lists
- You can use standard mouse control to select multiple lists: For example, this faculty member has selected the "major lists" for his department's freshmen and sophomores:
- SHIFT-CLICK (Mac and Windows): select a group of lists whose names are next to each other;
- COMMAND-CLICK (Mac) or CONTROL-CLICK (Windows): select lists whose names are not adjacent.
For example, this faculty member has selected the "major lists" for his department's freshmen and sophomores:

Select one of the buttons immediately to the right of the list of available mailing lists. Your choice will act on all the lists you have selected.
-
You can search your lists using the
Filter: feature. For example, if our sample faculty member only wanted to see lists with the word "Information" in their titles, he or she could type "information" in the
Filter: dialog box and click
Go or press
ENTER (RETURN), resulting in a listing like this one:

Use your mouse to highlight the lists you wish to access, then select the appropriate button from the right.
Click the
X button to clear a search.
-
You can also use the drop-down filter menu to narrow your selection.
 |
- all types: show all lists
- administrative: show University-wide lists
- classlist: show lists associated with individual University courses
- cpa: show large lists available only to CPA (e.g., "All students")
- dormlist: show residence life lists
- gcc: show GCC mailing lists (for campus and US mail)
- program: show major and minor lists
- server-side: show lists for staff testing
- sports: show sports team lists
|
Use your mouse to highlight the lists you wish to access, then select the appropriate button from the right.
-
You can also type one or more list names in the textbox at the bottom of the page.

Separate the list names with a space or comma. After typing your list, select the appropriate button from the right.